So, folks: I gotta be honest. I went into writing these posts about the master bathroom fully thinking I would create painstakingly step-by-step posts about waterproofing, tiling, leveling, grouting, and installing the new hardware on my shower. Basically, a bunch of posts that broke each part down for you and answered every question I thought to myself during the entire thing, the way a homeowner who is worried about ruining it all would. I filled my phone and camera with photos. I even filmed video.

(I’ve started throwing myself in front of the camera more — even when I have stray pieces of thinset or whatever that is making my hair look I’ve got some kind of very weird gray patch — similar to how I used to get paint streaks… ha!)
This post contains affiliate links, which earn commissions that help this site at no added cost to you. Thank you for supporting The Ugly Duckling House!
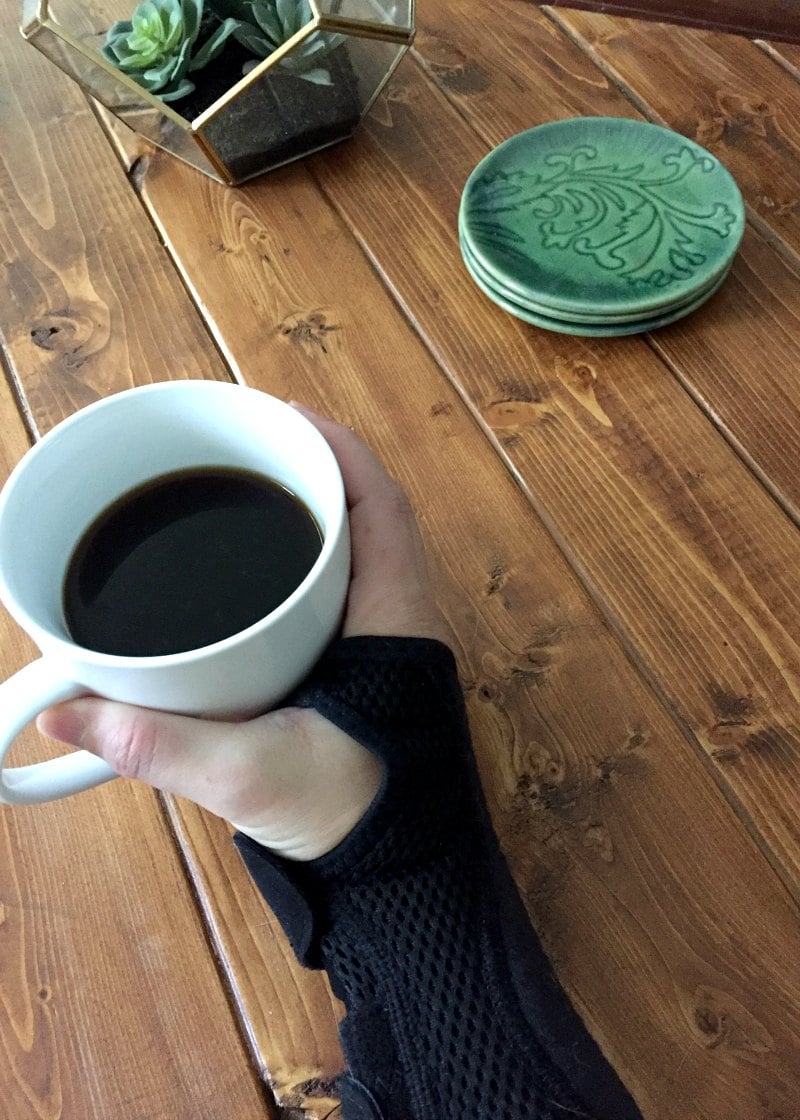
But then, reality called. And while my intentions were/are good to come through on that, after spending my entire 4th of July holiday week and the following week getting the actual job done, with all of those hours of sweat and frustration, I kind of need to let myself rest for a bit instead. Especially since I am now wearing a fun little accessory to keep me from overstraining my wrist over the next few weeks (thanks in part to all of the gripping on tools from tiling, plus the normal power tool and computer use I have on a weekly basis):
Yeah, that whole “rest when you need rest” thing is a thing I’m still working on.
But rather than leave you hanging, I’m going to do a short (if you consider 3,000 words as “short”) recap first (that’s this post), and then as time allows, I’ll fill you in on each part in greater detail. I also don’t want to keep you waiting for all of those before I share the reveal; I don’t have the patience to keep that under wraps! It also might give me a sense of what kinds of questions you guys will leave in the comments (believe me, the tile advice you’ll find online is diverse, complex, and sometimes contradictory). That way I can include them along with the post it corresponds to. Ultimately, a lot of the steps involved will vary slightly in personal preference, but there’s also a general process as well (you can click to jump to these sections):
- Removing old tile
- Replacing the old drywall/tile backing with new board
- Waterproofing
- Tiling
- Grouting
- Sealing
Some of these steps may even blur together in terms of the product used, such as a tile backing that is also waterproofed or grouting that includes a sealer. All I can say to that is: deep breaths. You can still totally, 100%, do this project as a DIY, but second-guessing yourself with all of your options is bound to happen! You just need to gather research, build your confidence, and pick the products that sound right to you. I also have a friend of mine’s online courses listed at the bottom of this post, just in case you wanted a one-stop-shop and time is of the essence to get your project underway (he’s done a number of bathroom jobs versus my one time doing a shower tile start to finish, so he’s also the person I immediately went to for advice when I got stuck).
Waterproofing and Tiling the Master Shower – An Overview
1. Remove the Old Shower Tile and Green board/Drywall
So, where I last left off, I had taken out the old shower tile and cut out the damaged drywall. The tile had been in decent shape, but I’d grown to hate it, and I finally had the budget to get a better bathroom. The reason removing the drywall, at first, was just because I thought that trying to tile over all of the mess that removing the tile created would be difficult, and putting in the same green board (which is just moisture-resistant drywall and coated in green paper, thus its name) would be easier. I had this assumption all the way through to putting new green board in the open space and taping up the seams (I’ve had a little practice at that from projects like this one). Tip: it’s easier to take off in large chunks, so don’t get overzealous with the hammer.

2. Replace with Backer Board (of Some Kind…)
But the problem with that was that I shouldn’t be using green board drywall at all. Standards have changed, enough disastrous results have come from using it, that people now recommend a hardier option: cement board, aka its other names (usually in reference to the brand, and are often used interchangeably in DIY forums based on the individual’s preference and familiarity) such as Durock, Wonderboard, Hardiebacker, etc. Other types of tile board are made specifically to be waterproof, and those are also used by their specific brand names rather than the generic.

Luckily, I caught my mistake before the waterproofing began, and wound up tearing out the brand-new drywall to replace it with even brandier-newer cement board. The process wasn’t even all that tough; it was just irritating and sweaty and cumbersome (since a small bathroom really isn’t the place for elbow room with a large piece of backer board). Also, of course, twice the spend to buy the wrong thing first and then buy the right thing. Learn from my mistake!
Just installing the new board by itself caused myself a few questions since the tub (which I planned to keep) has a lip on the top and nails jutting out just above it as a means of securing the tub to the studs. I later learned that it’s sometimes a problem when installing the backer board because the nail protruding out can make the backer board crooked, making the tile on the bottom not sit flush with the rest of the tile above it. My solution was to use these nails as a means of helping me to install the backer board by resting the bottom along the nails and just over the lip (so actually a help, rather than a hurt there). I read that the most important thing is to make sure that the studs are flush with each other and the lip of the tub, and things seemed good on my end to proceed with no potential for crooked tiles on the bottom. For once, my house wasn’t crooked as hell (if that had been the case, the solution would have been to use shims).

Rather than use joint compound like you would with drywall, it’s recommended to use thinset and alkali mesh tape (not pictured) in the seams and corners. Some contractors might not actually use mesh tape because they complain that it creates a bump too difficult to overcome at the seams (a complaint I saw frequently on Youtube), but the risk there is that any movement could split/crack the tile or grout lines later on. And usually, you want to eliminate risk factors when doing all of this installation (because doing it twice sucks more). I made the mistake of not getting things smooth enough on the first attempt with thinset, so it took me a little work!
3. Waterproof the “Wet Area”
For this step, I decided on Redgard since I didn’t use a board that is already waterproofed (a lot of my choices were based on availability locally as well, such as at the big-box stores versus a specialty tile shop that required a lot more travel time). Regard is basically both a waterproofing and crack resistant membrane, so even though the original green board seemed to do just fine on its own after 30 years (basically, no waterproofing but no big issues with mold), I’m not that worried about having problems in the future, but given that this was DIY I still wanted to do a little bit better than how I found it.
It seemed pretty user friendly and the demos online about its waterproofing abilities are pretty impressive, too. Basically: if you can paint walls, you can easily use this product — just make sure there is proper ventilation and give this stuff time to air out (according to the packaging, you can start tiling immediately once it’s dry, which takes about 1-1.5 hours based on humidity, but I waited a little longer because of the smell).

Application was relatively straightforward (rolling with a roller like paint or troweling it on), but I also used an old paint brush in corners and seams because I wanted to get every tiny uneven nook (and there were a few). Then, a second coat. I didn’t wind up going up to the ceiling with the product (even though I tiled to the ceiling) because it seemed only necessary in the original tiled parts.

As for taping off/protecting things, some folks wonder if you should need to protect the tub from Redgard with some painter’s tape. I did use it but didn’t find this to be much of a worry, since once it dries it has practically the same consistency as dried caulk or plastic and suuuuper easy to spot if you dripped somewhere. It peeled right off the tub with my fingernail, and the only spots I had difficulty with were two tiny spots that splattered onto the floor tile — since it was so thin and the floor tile isn’t a high gloss coat, it stuck more. I was still able to get it up with my fingernail though (you can also use a flat knife such as a taping knife, but it’s better to use plastic and not risk etching the tub).
The funnest part about this product is actually the color. It starts off bright (almost neon) pink… and when dries, it changes to red. I’m not often much of a pink gal… but I honestly want a dress Redgard pink.

4. Begin Tiling, Starting at the Tub… and Grab a Level!
I’ve done tiling tutorials before, and this experience was really not unlike when I installed a ceramic backsplash in the kitchen or when I added one to the laundry room. There were a few differences:
- The question on what tile adhesive products are fine to use (based on what the manufacturer says) versus what pro contractors trash on DIY forums is hotly debated*, and important to gather information about since this is going in an area where water is going to be. To dig into it a little without making this entire post about it (I’ll have to try to go into it further in a later post), the general split between types of tile adhesive is usually based on where it’s being applied and that usually impacts whether the product is pre-mixed. In most cases, the pre-mixed stuff is called mastic (a somewhat outdated term) or ceramic tile adhesive (the newer term) and is used for dry areas like the kitchen backsplash. For “wet areas” like a shower floor, underwater, or a steam room, the solution is to instead use thinset and comes in a bag of dry powder you mix yourself. However, there are a small handful of products that say right on the packaging that they are okay for wet areas and sold by major retailers as long as it’s for an intermittent wet area, such as a shower wall or tub surround. They are a little thicker/grainier than how I remember mastic being, and cure time takes a while. The upside is obviously the convenience, but the risk is that unless the grout is sealed properly (and stays properly sealed!), there’s a chance water could get behind the tile and that would weaken its hold, as well as possibly lead to mold issues. Some folks agree that it’s fine to use, while others are strictly Team Thinset. I haven’t used a product like this before in a wet area, so I feel kind of weird giving an opinion on it other than saying the safer bet seems to be mixing your own thinset. Also, the color of the adhesive plays a role too (for instance, you should use white thinset if you’re planning to use a light grout because the gray might compromise the pigment of the grout color). I want to have a completely different post all about this at a later date because this decision alone made me nervous over and over again, but also, arm brace.
- Tiling all the way from the tub to the ceiling took a long time. Much longer than I thought it would. It was exhausting, but so, so worth it! I can’t wait until I can take some final shots with how gorgeous the wavy gleam from the surface effect is.

- The tile I used was handcrafted, which means that both the surface of the tile and its edges were a little random, making it more of a challenge to work with, especially with spacers. Some areas needed a very narrow grout line to stay level, and some needed thicker spacers, but constantly checking for level was probably the only way I managed to stay sane! I wound up using little wedge spacers whenever I needed some flexibility. The shape also influenced the brick pattern I used.

- To keep the surface of the tile level, I used a new product I hadn’t tried before. I need to write a post on using these just by itself, but GO BUY THESE THINGS. These leveling tile spacers are a two-part system that basically fit around and between the tiles with a 1/16″ spacer. Part of it is permanent under the tile to help keep the surface level during installation (the trippiest part for me), and part goes on top to clip each tile level with the ones near it. I tried to install tile without at one point near the ceiling, and the difference was clear that they helped enough for me to consider these worth the cost. And the fact that I could do a little demo after the tile was installed was kind of fun (you have to knock off a certain part after the tile dries), since by this point the desire to swing a hammer to ease my stress of all that labor was pretty high! Note: I wound up using these only on the shorter ends of the tiles (so, vertical leveling only) because the horizontal spacing was so unpredictable. On a normal tile though, these would be great for both horizontal and vertical leveling.

- When I proudly announced that I was finally (!!!) done installing tile, the first question I got asked was whether or not I wish I’d installed bigger tile to avoid this amount of work. I kinda do, but the tile is also incredibly beautiful, so no.
*By “hotly debated,” I mean to almost political-Facebook-status levels of hate or loyalty for certain brands. And when you’re just trying to get solid answers while standing in an aisle at the store (because unfortunately, I don’t trust employee advice at the big-box stores anymore just from personal experience), that can be incredibly frustrating!
5. Grouting (and in my case, Sealing too)
I had a lot of self-doubt over choosing the grout color. I knew from my kitchen backsplash installation that I sort of wish I’d tried out gray grout, but with the uneven grout lines from the handcrafted tile, I also thought white-grout-on-white-tile might be the best (read: least eye-twitching as I shower) choice. I chose white. And I am far more confident with that choice than I ever was with the kitchen, so I think I’m in the clear for future regret!

Grout is not everyone’s favorite thing, but I honestly think it’s a pretty easy step. It’s messy and I hate that it takes so much physical effort, but it’s also really soothing to do it. Again, because of the different widths in grout lines, I wound up using both a grout float as well as gloved hands to apply it to make sure I got it into each little gap (and definitely use gloves).
As for sealing, it’s optional to do this after the grout dries, but you can also buy grout that has sealer already mixed in or a product that you can mix into the grout to do things in one step. After reading a lot of reviews about how the product that has the sealer already mixed in is really tough if you’re not a seasoned installer (apparently the window of time to wipe it back off is really short and lots of people had issues trying to get it off the tile if they didn’t clean it up right away), I went with the mix-in version that was more forgiving. I actually think that because this grout is white that I might seal it again after the fact before its first use (I happen to have grout sealer in my garage anyway).
Do you see why writing individual posts was also on my to-do list? It gets detailed fast! And… since we’re over 3,000 words for today and I’m literally wearing a wrist brace as I type (bringing my words per minute down significantly), I’ll stop here. I still need to also share the mood board for the room with perhaps one unexpected element (at least, if you know my typical neutral-loving style) as well as the final reveal and the details about the new shower hardware.
P.S. If you’re wondering about the brace itself, I’m really liking it so far. This is the one I bought and it fits my small wrist well. It takes a little getting used to but it makes the ligament in my forearm feel a lot better.
The post Waterproofing and Tiling a Bathtub Shower – An Overview appeared first on The Ugly Duckling House.
Website // Subscribe // Advertise // Twitter // Facebook // Google+
No comments:
Post a Comment